Programming Via the Touchscreen
Programming the Unity6 using the touchscreen.
One of the first things you may notice about the Unity6 is that there is not a "Save" button anywhere inside our user interface. We've designed it this way to streamline the way MIDI programming is done and now you will never have to hook your controller up to a computer as everything you do inside the Unity6 is automatically saved and stored into permanent memory.
First press the center of the home screen to access the menu system then select the Programming icon.
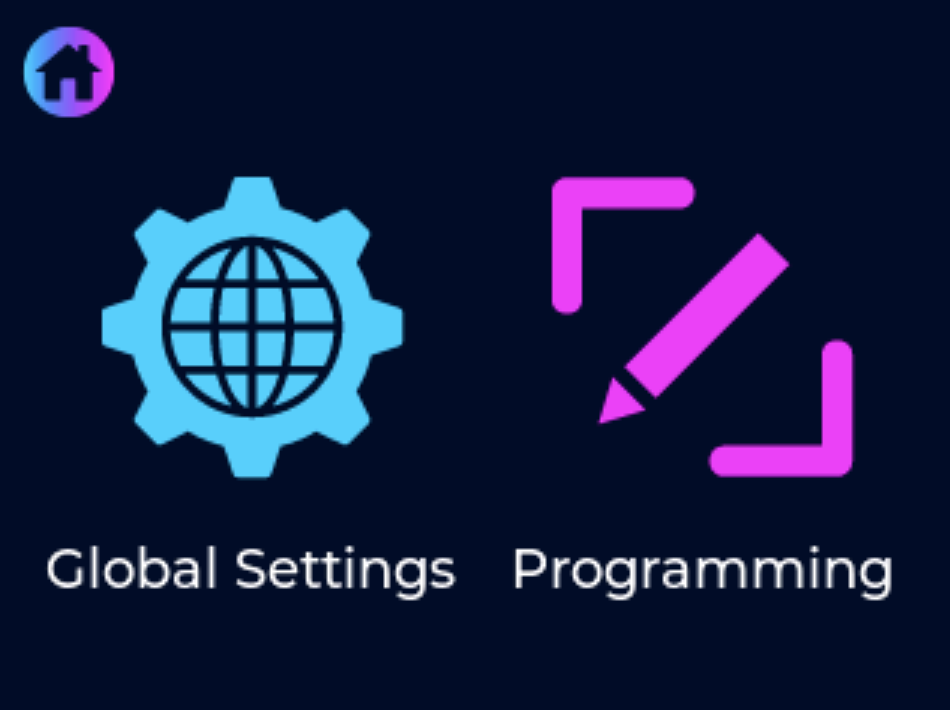
From here you have 7 options for programming presets and setting Bank Information:
-
-
- Programming Switches - use for assigning MIDI messages to switches/presets
- Scribble Strips - use for assigning scribble strip info, like default name, toggle name, and color
- u6 Trio - use for programming additional presets assigned to the u6 Trio. More info on Trio programming can be found here.
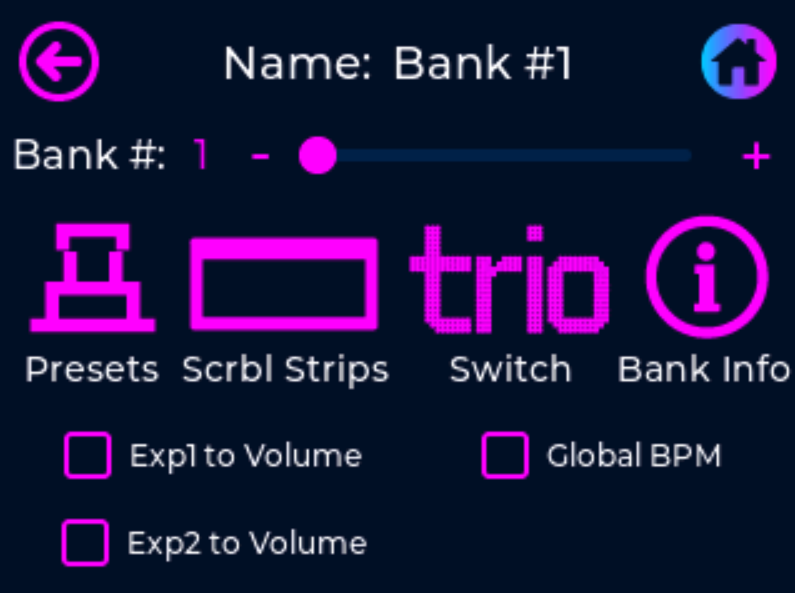
- Edit Bank Info - use for naming the preset, setting BPM, naming EXP1 & EXP2, etc.
- Exp1 to Volume - select for using an expression pedal as a volume pedal that is plugged into UniPort #1
- Exp2 to Volume - select for using an expression pedal as a volume pedal that is plugged into UniPort #2
- Global BPM - selecting this checkbox will make the currently selected bank ignore any BPM information stored within the Bank Info screen, making the bank essentially act as a global bpm. When navigating to this bank the BPM will not change from the info stored in the previously selected bank or previously entered tap tempo value.
-
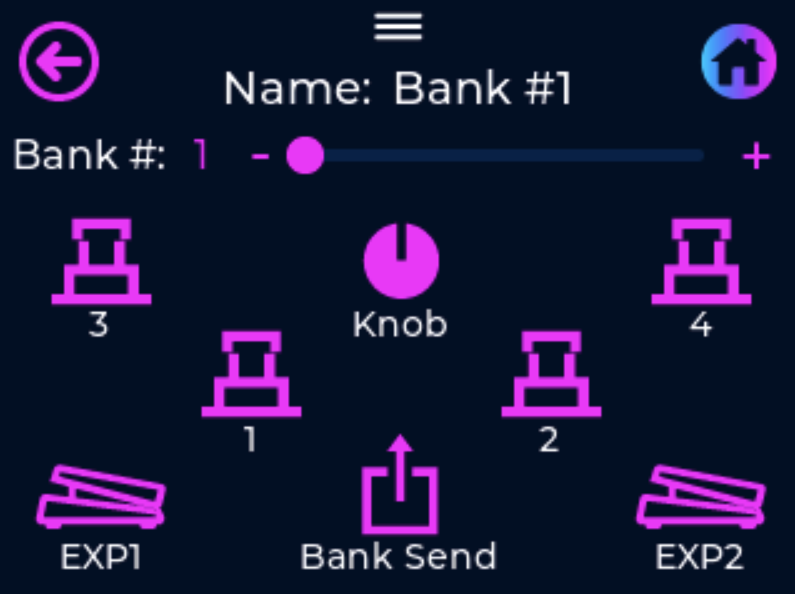
Programming Switches Screen:
-
-
- Select the Bank Send icon to program any messages that will be sent upon loading the bank
- Select the EXP1 or EXP2 icons to program any messages that will be sent using the expression pedals
- Select any Switch icon or the BPM Knob icon to program the messages that will be sent with each preset
-
Lets have a look at programming a preset tied to any switch. First press the Switch icon that you want to program and you will taken to the following programming screen.
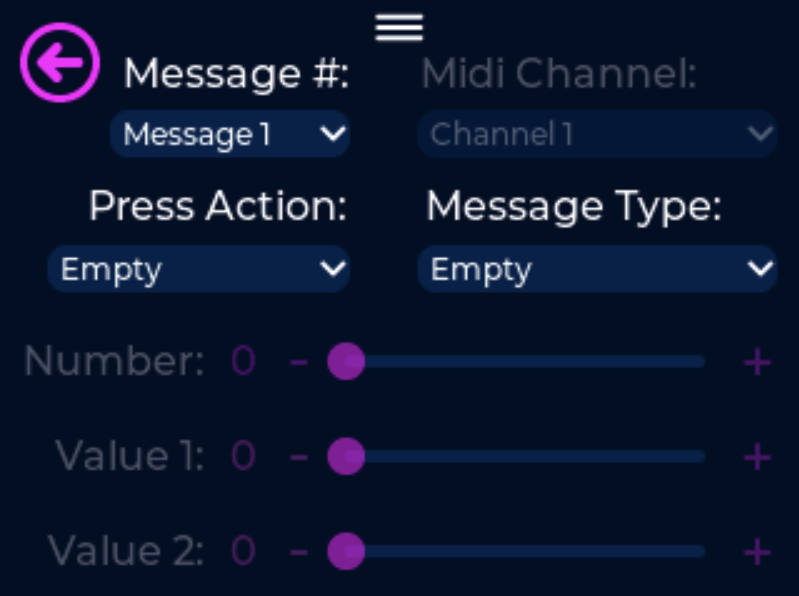
Select from any of the 32 Message #'s available, select your Press Action (more on Press Action's here), select the Message Type (more on Message Type's here). Then fill in the required info, MIDI Channel, Number, Value, etc.
To continue adding additional MIDI messages to this preset, simply select a new Message # from the dropdown list and continue the process listed above.
Pressing the Back Arrow icon will take you back to the previous screen or pressing the Home icon will exit you from the menu system.
Added in v2.3.0 is the ability to see all of your messages that have programming assigned by doing a long press on the Message # dropdown menu. An example of this is seen in the picture below.
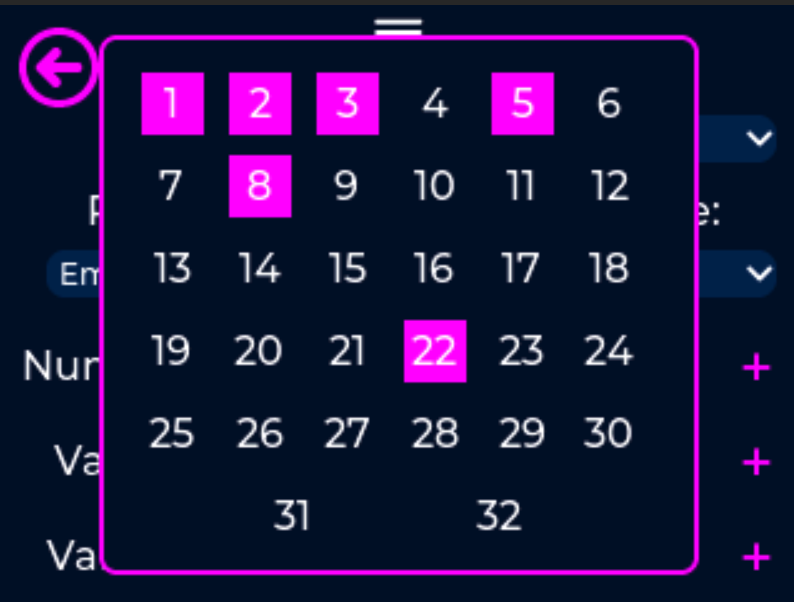
Remember there is no need to save any messages you have created, everything is automatically saved in permanent memory as you progress through the programming process.
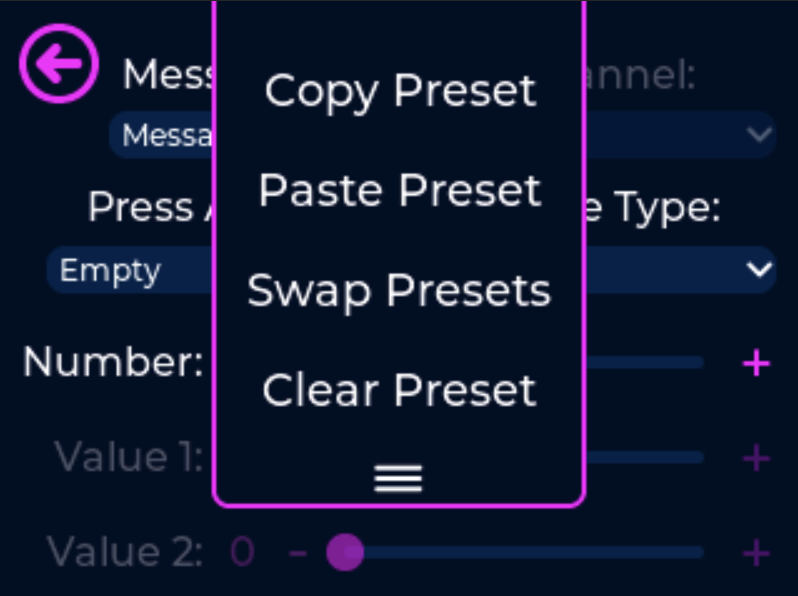
To clear a preset, either press the "hamburger" icon or click the BPM knob to access the dropdown menu. Press the touchscreen or use the BPM knob to select the Clear Preset menu item.
Scribble Strip
Press the Scribble Strips icon to make any adjustments to the scribble strips and you will be taken to the following programming screen.
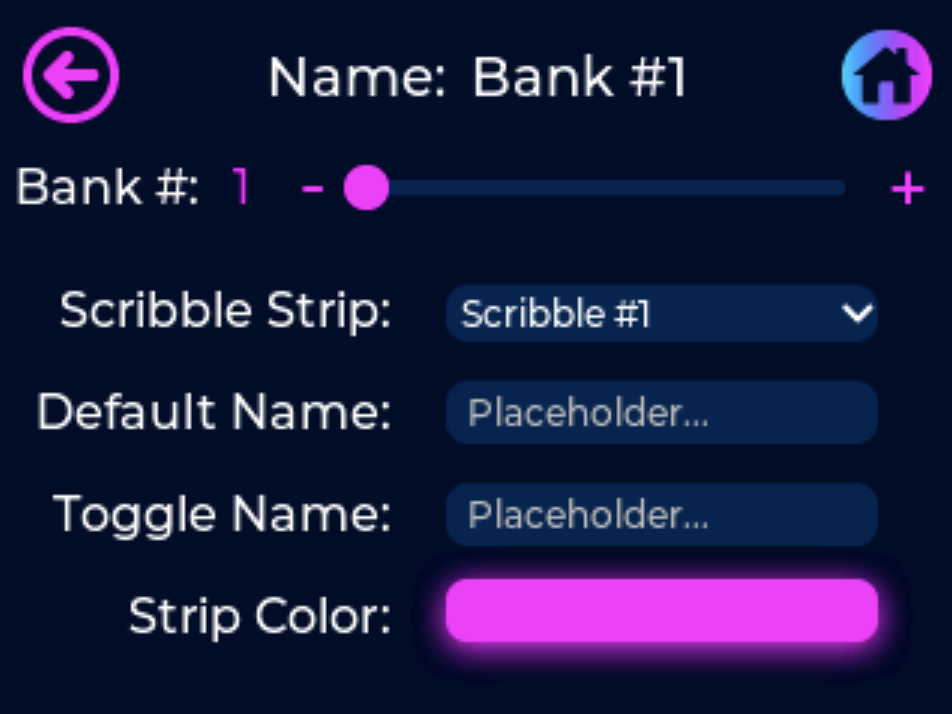
First make sure the scribble strip that you want to make changes to is selected from the scribble strip dropdown. You can press the placeholders to make changes to the Default Name or the Toggle Name. The Default Name is what will be shown in the scribble strip at all times or when the "On" message is sent from a toggle message type. The Toggle Name will be shown on the scribble strip whenever a toggle type message is pressed in the "Off" state. Leave the Toggle Name empty if you do not plan to assign any Toggle Type messages to this preset.
The character limit for scribble strips is 12 characters. 6 characters will fit on one line of the scribble strip and will be centered within the strip. Over 6 characters and the text will automatically adjust the text size to fit within the screen. 7-8 characters drops down one size and 9-12 will drop down to the smallest size.
Pressing the Strip Color button will take you to the following screen where you can select between 9 different colors,
